FREE Newborn Photography Wrapping Tutorial
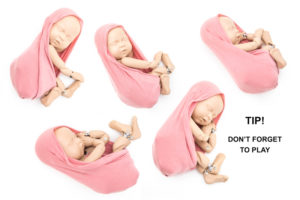
The Evolution Wrap
A step-by-step walk through of the StandInBaby™ signature newborn photography wrapping technique
“The Evolution Wrap“.
Create 12 amazing looks from 1 base wrap.
Achieve more images with less chance of unsettling the baby.
Stage One - The Evolution Base Wrap
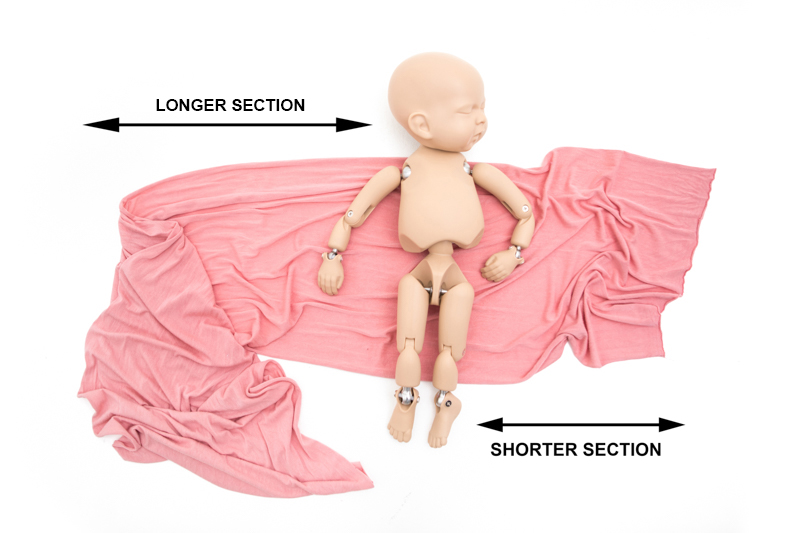
~ You will need a stretchy wrap approximately 18″ x 60″ ~
Step 1
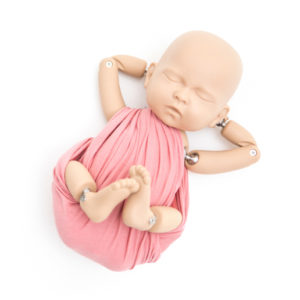
Place the baby in the wrap, ensuring that you have enough length on the shorter side to bring the wrap over the baby.
Step 2
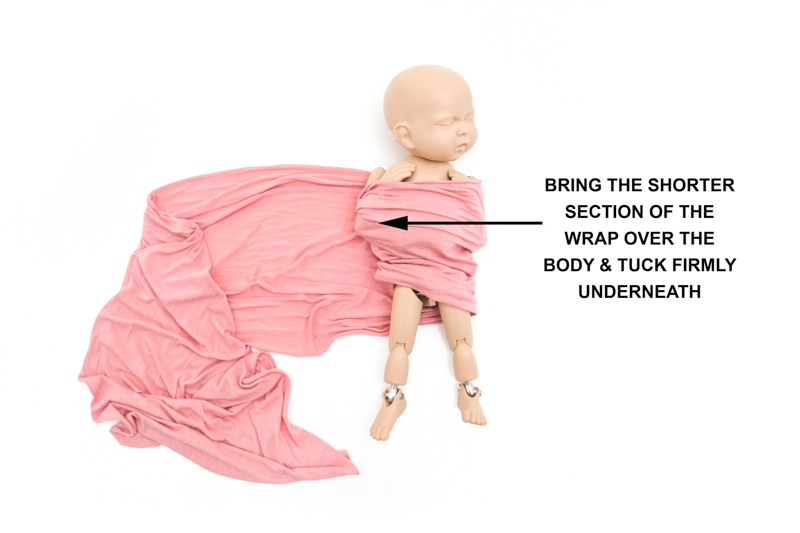
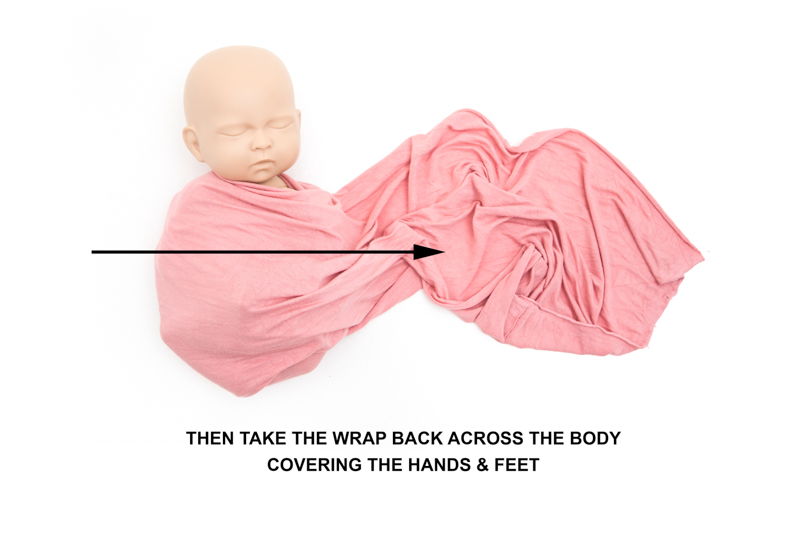
Bring the baby's hands up to it's chest, then pull the shorter section of the wrap over the baby's body and tuck firmly underneath
Step 3
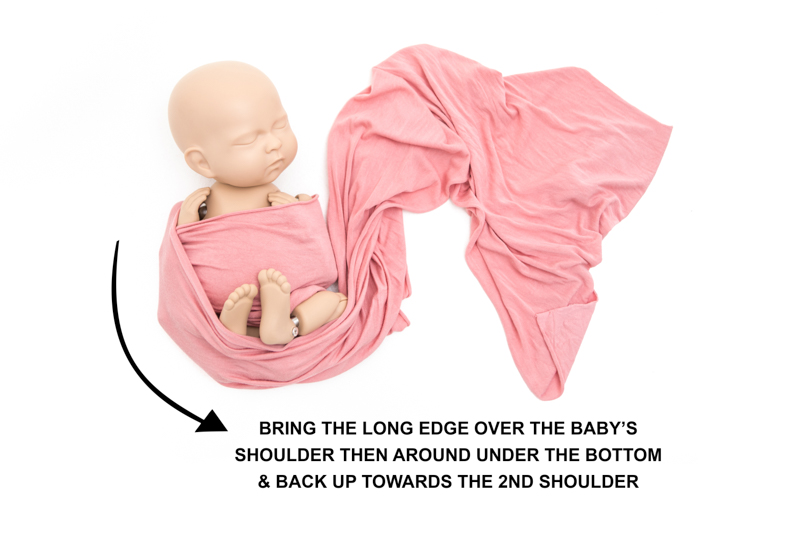
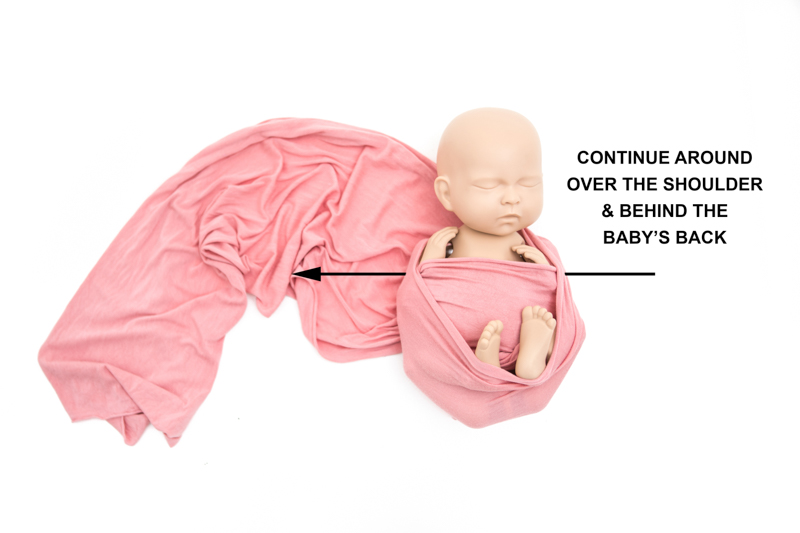
Tuck the baby's legs up to it's chest (in a way that is comfortable to the baby) then bring the long section of the wrap over the baby's shoulder, then around under the baby's bottom (supporting the legs) and back up toward the second shoulder.
Soft silicone doll
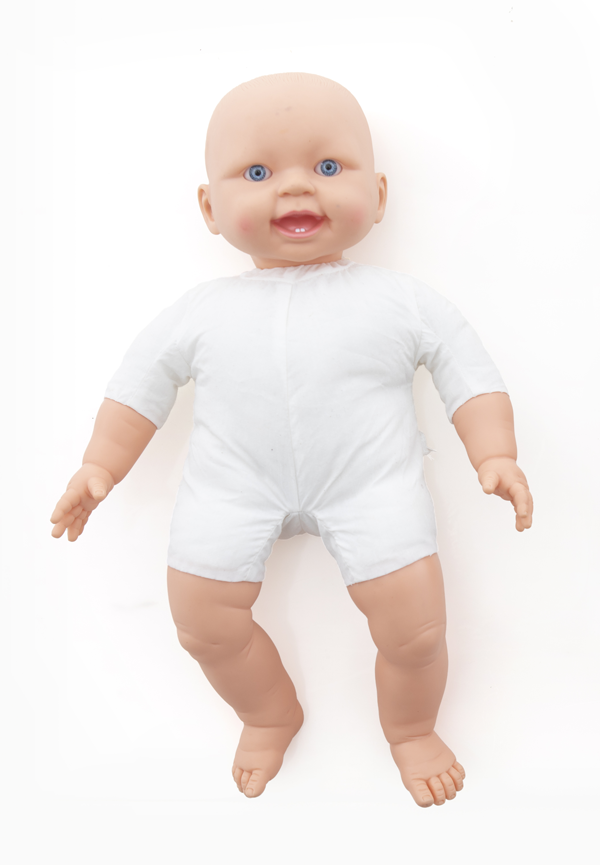
Foam filled doll
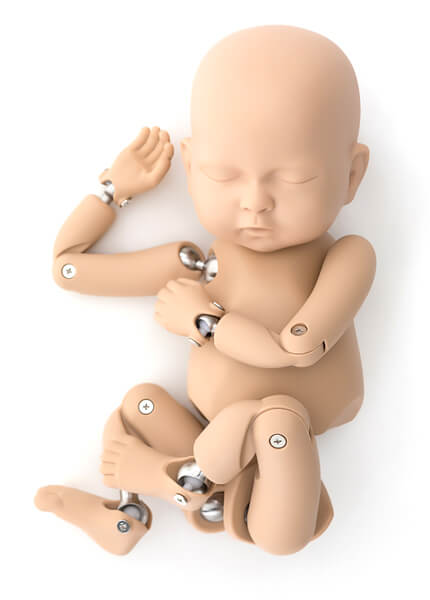
The StandInBaby® Mannequin
We asked leading health care experts to review and compare the StandInBaby® mannequin with soft silicone and foam filled dolls
Stage Two - The Evolution Looks
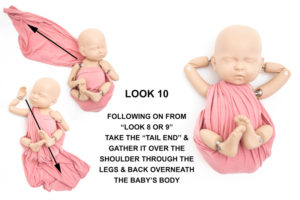
Look 10
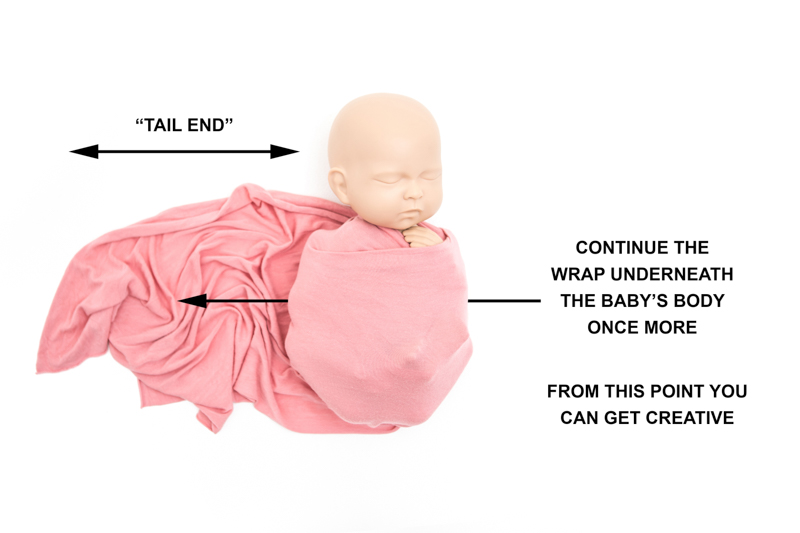
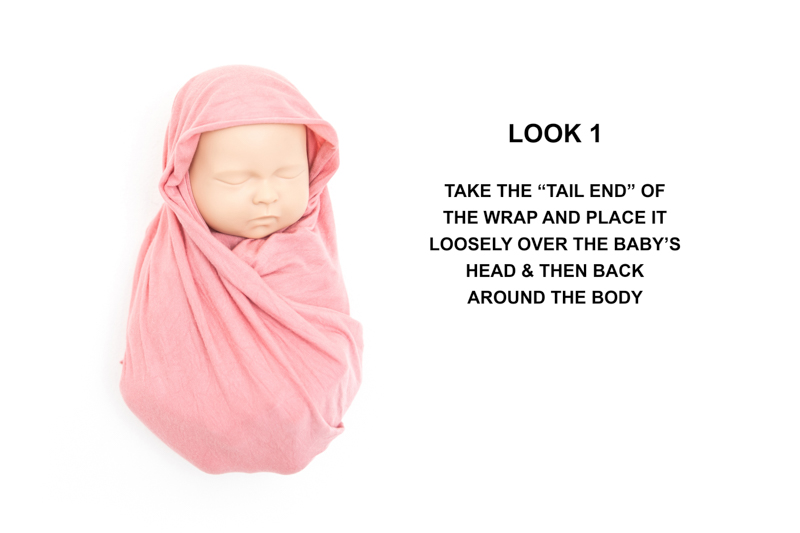
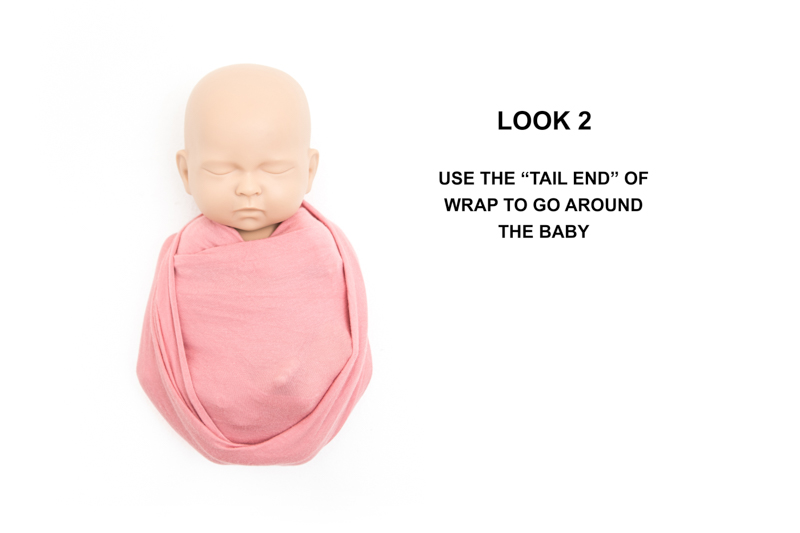
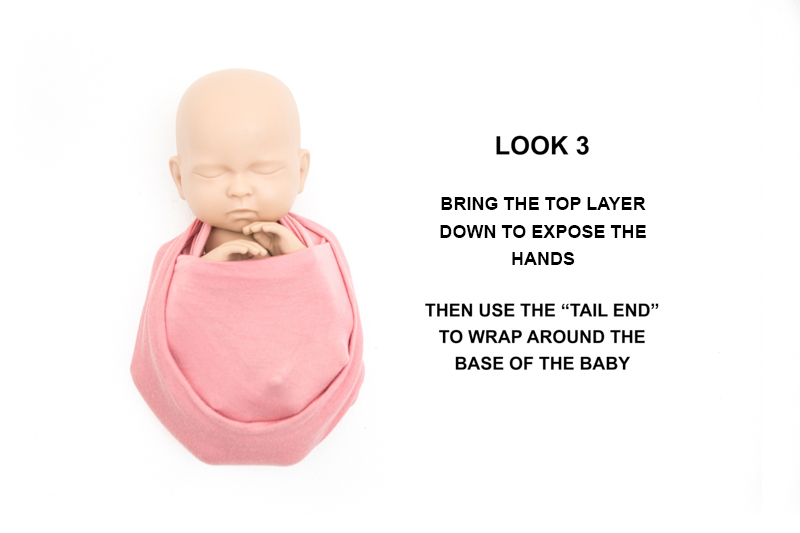
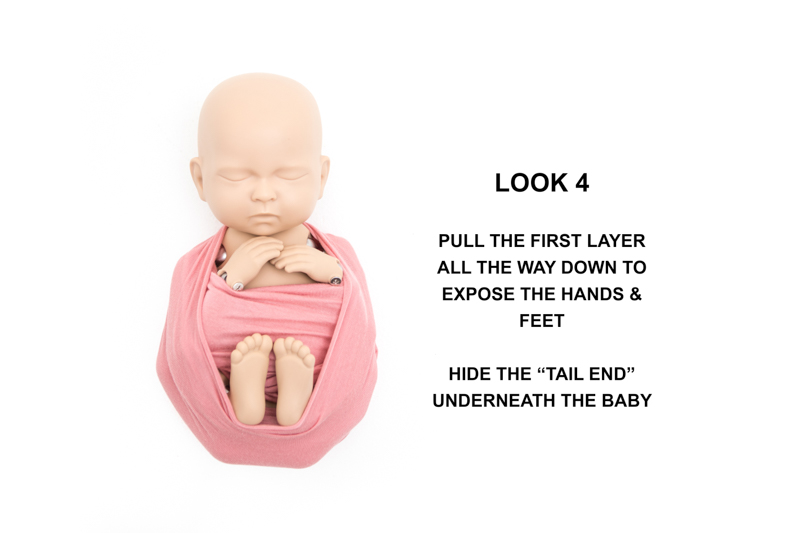
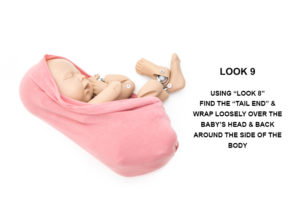
Following on from "Look 8 or 9" take the "tail end" and gather it over the shoulder of the baby and through the legs, finish by tucking the wrap back underneath the baby's body.
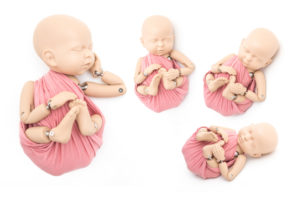
Look 10 Examples
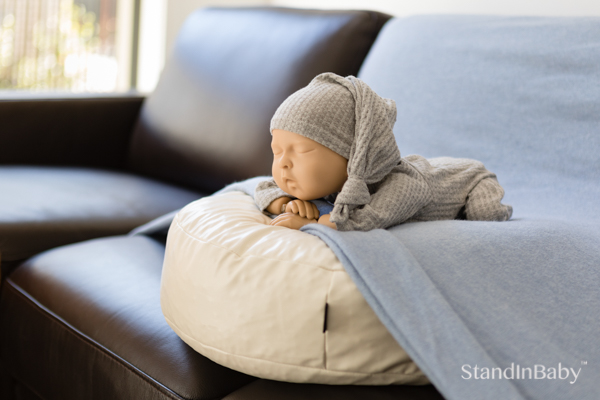
These styles will easily adapt to many different props. Add beanies and tiebacks to complete the look. It's time to get creative.
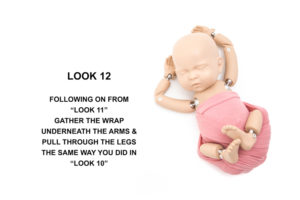
Look 12
Following on from "Look 11" Gather the wrap underneath the baby's arms and pull through the legs in the same way you did in "Look 10"
Create your own Newborn Wrapping techniques with StandInBaby™
Did you know?
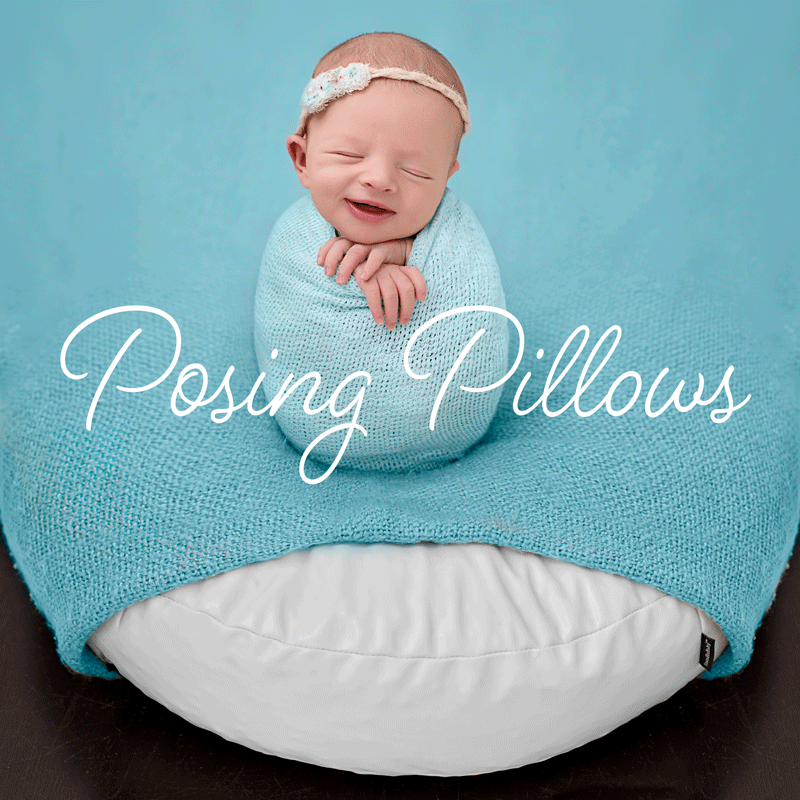
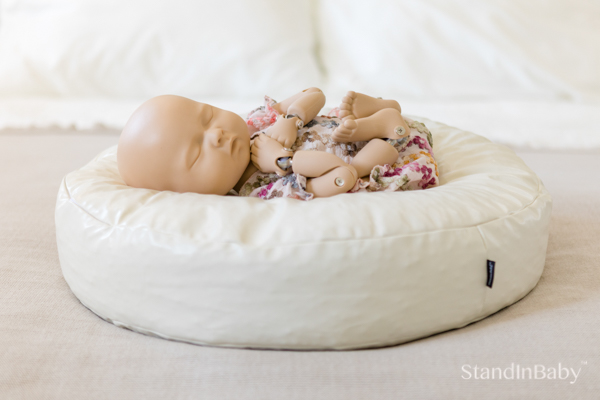
A good quality posing bag will help ensure your baby's safety by providing the right support in the right places?
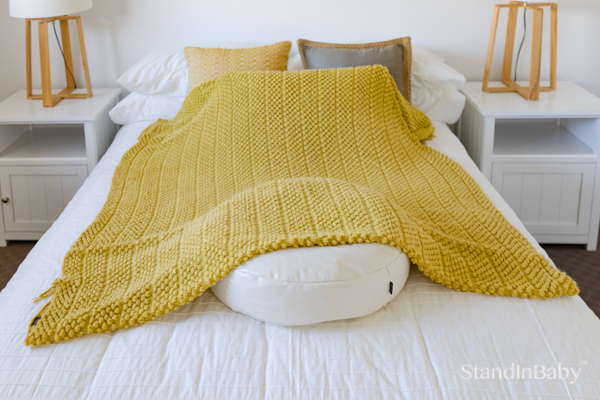
Our Posing Pillows are made from a stretchy, durable, light weight material that perfectly contours to your baby's shape, ensuring a more comfortable supportive posing surface.
Get a full return on your StandInBaby Investment
in just 3 easy steps
1. Purchase
Purchase up front or via our easy payment plans
2. Practice
Receive instant access to our "Members Lounge". Showcasing an ever growing catalog of FREE easy to follow tutorials and videos.
3. Rent
Recoup your investment by renting out your StandInbaby to local newborn photographers
IMAGERY SUPPLIED BY JESSICA ARELLIN PHOTOGRAPHY
Now watch the video
4 Comments
Leave a Comment
You must be logged in to post a comment.




I used this wrapping technique on my last session this week…. What a game changer and I wish I would have known this sooner ! Thank you so much Sandra for sharing this with us ! Your constant support to help improve the skills of newborn photographers all over the world is very much appreciated…HUGE thank you from Calgary
And for everyone doubting about purchasing a StandinBaby…. DO IT !!! It is my best purchase in a long..long time. I test all my setups and outfits, my wrapping techniques…literary my complete session if I have not uses it before and I go into each session so confident…. my sessions go smooth and so much faster than before.
Again…. HUGE thank you !
What is the average measurement of this wrap used?
It’s 18 x 60″. 🙂
This wrapping is not as easy as it looks – I think my wrap may be a tictch to short but I will persevere.
Thank goodness for this tutorial as I have time to practice.
Great video for learning.
Many thanks for your help and support
Lawrence